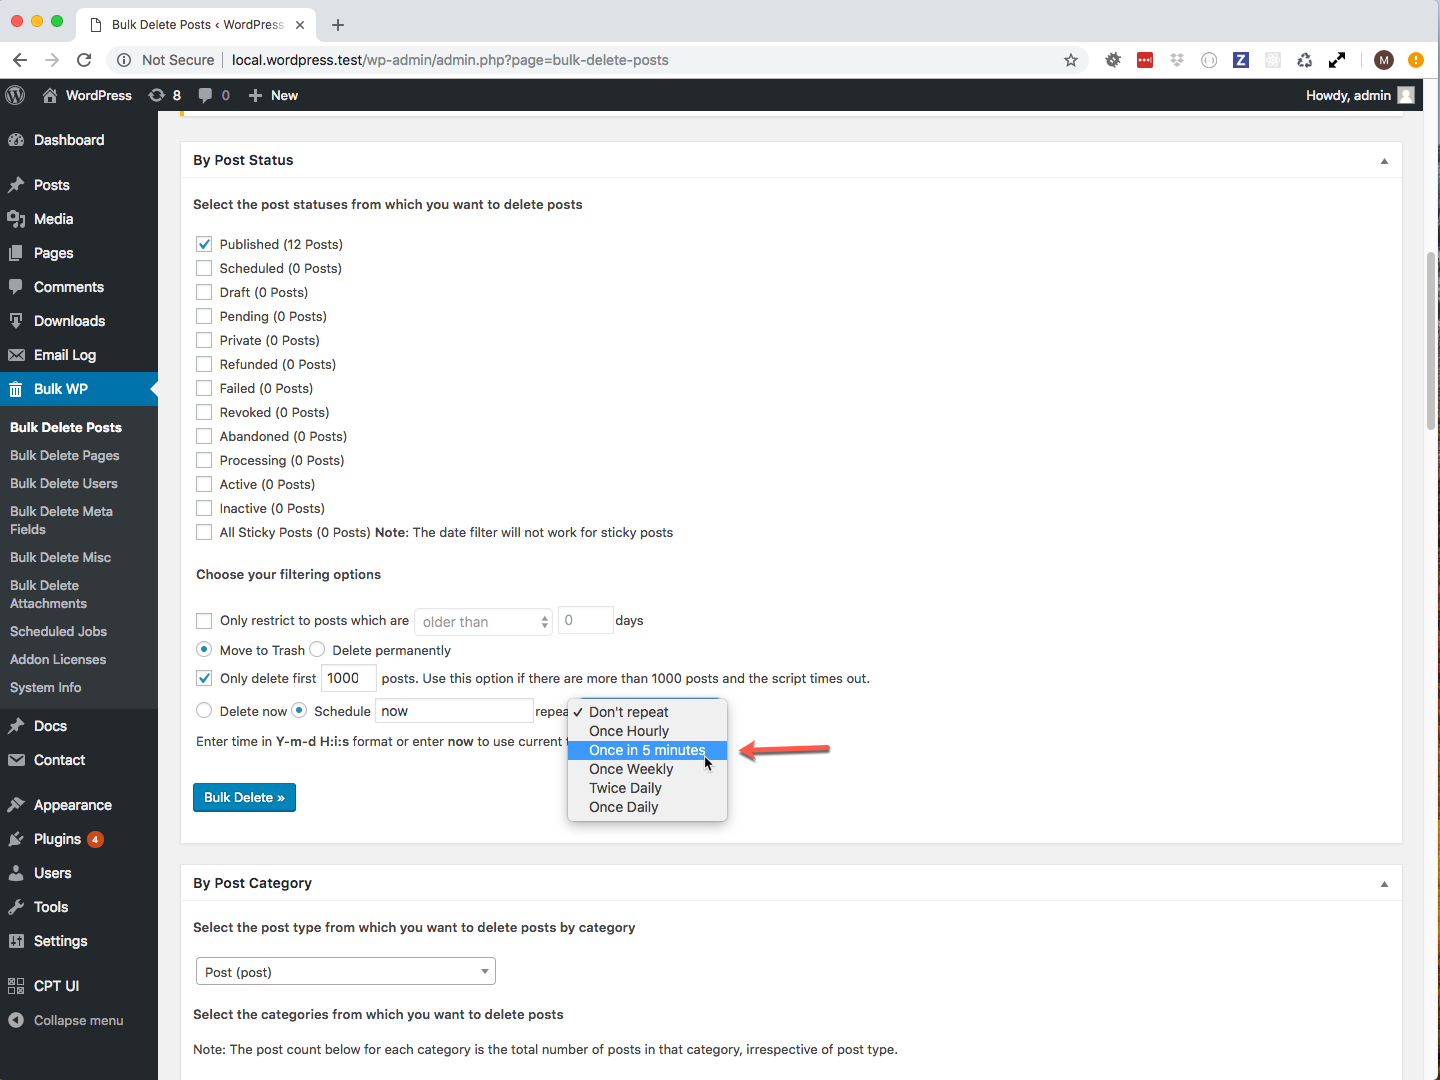
All the scheduler add-ons support repeating an action based on a schedule. By default the add-ons will list the schedules that are available in the WordPress installation in the dropdown.
If you want a new schedule that is not listed in the dropdown, then it can be easily added to your WordPress installation using the free WP Crontrol plugin.

To add a new cron schedule, follow these steps.
- Install the WP Crontrol plugin from WordPress plugin repo.
- Go to
Settings⟶Cron Schedules - You can see the list of available Cron Schedules and option to add new ones.
- Enter the internal name (unique and preferably lowercase without space between words)
- Enter the interval in seconds. In our case we shall add a new Cron schedule with an interval of 5 minutes (i.e. 5 * 60 seconds = 300 seconds)
- Enter the Display name. This can be descriptive.
- Finally save the schedule by clicking the “Add Cron Schedule” button.
Once you’ve added the desired Cron schedule, you can again schedule the deletion based on the new schedule.