
Managing your WordPress website involves more than just publishing attractive content or optimizing your SEO. One often overlooked yet crucial housekeeping task is clearing out the trash — a feature that quietly stores deleted items like posts, pages, comments, and more. While it may seem trivial, routinely emptying the trash in WordPress can improve performance, declutter your dashboard, and even aid in site security.
In this article, we’ll explore why and how you should empty the trash in WordPress. Whether you’re a casual blogger or an experienced developer, this guide will reveal tips and best practices to keep your website tidy and efficient.
What Is the Trash in WordPress?
Understanding what the trash bin does in WordPress is crucial before learning how to empty it. When you delete a post, page, comment, or other content in WordPress, it isn’t gone forever immediately. Instead, it’s moved to the trash — much like a computer recycle bin — where it remains for a default period of 30 days. During this time, you can either restore or permanently delete the item.
This provides an extra safeguard in case you delete something by accident, but the trash can accumulate a lot of data if ignored. Over time, this can lead to unnecessary storage bloat and database inefficiency.
Why You Should Empty the Trash
There are several benefits to regularly emptying your trash in WordPress:
- Improved database performance: Each item kept in the trash is stored in your site’s database. Regular cleanup can streamline database queries and increase speed.
- Reduced clutter: A tidy admin panel makes it easier to manage your content and avoid confusion.
- Security enhancement: Deleted but undeleted items can pose risks if hijacked through database vulnerabilities. Purging them adds a layer of protection.
- Better organization: Prevents accidental restoration of unwanted or outdated content.
While WordPress does auto-empty the trash after 30 days, sometimes you need to take action manually — especially if you’re making a lot of content changes.
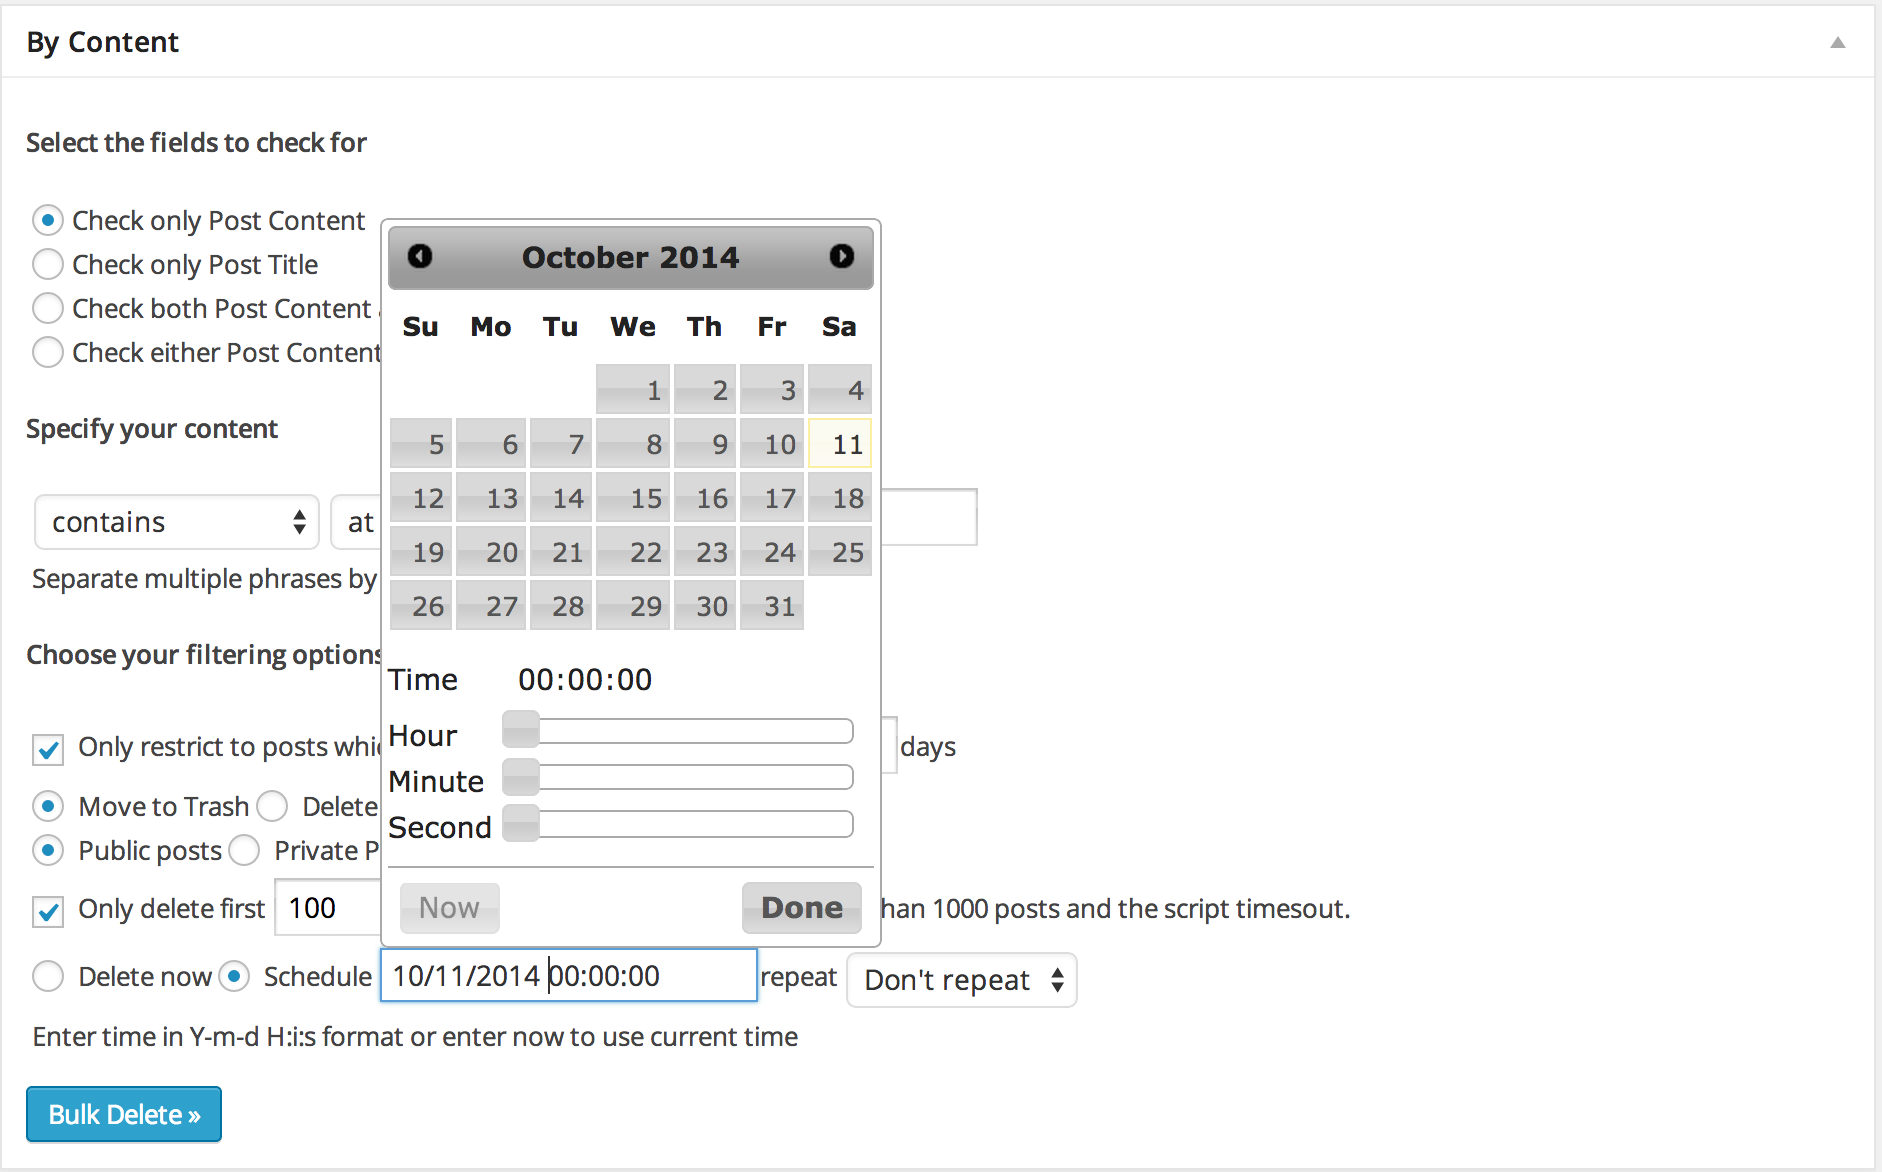
How to Empty the Trash in WordPress Manually
Let’s go step-by-step through the process of emptying the trash manually in various parts of your WordPress site.
1. Emptying the Trash for Posts and Pages
- Login to your WordPress admin dashboard.
- Navigate to Posts > All Posts (or Pages > All Pages).
- Click on the Trash link at the top to view items in the trash bin.
- Select the items you want to remove or click “Empty Trash” to delete all items permanently.
2. Emptying the Trash for Comments
- Go to Comments in your dashboard menu.
- Click on the Trash tab to see trashed comments.
- Again, you can delete specific comments or choose “Empty Trash” to clear them all.
This method is quick, intuitive, and doesn’t require any technical knowledge.
How to Automatically Change Trash Behavior
What if waiting 30 days is too long? WordPress gives you the flexibility to customize how long trashed items are retained by editing your wp-config.php file.
Reduce the Trash Retention Time
To reduce the number of days WordPress keeps items in trash, do the following:
- Access your site files via FTP or a file manager in your hosting panel.
- Open the
wp-config.phpfile located in the root directory. - Add the following line anywhere before the “That’s all, stop editing!” comment:
define('EMPTY_TRASH_DAYS', 7);This will change the auto-empty interval to 7 days instead of 30. You can adjust the number to suit your needs.
Disable Trash Auto-Emptying
Want ultimate control? To prevent WordPress from auto-deleting trash entirely (note: not recommended for most users), set the value to 0:
define('EMPTY_TRASH_DAYS', 0);In this case, you’ll have to empty trash manually as needed.
Use Plugins To Manage Trash More Efficiently
If you’re a fan of automation or you manage a high-traffic site, plugins can help streamline the trash process. Here are some handy WordPress plugins:
- WP-Optimize: Not only does it clean the trash, but it also optimizes your database for better performance.
- Advanced Database Cleaner: Offers detailed control over what data is deleted and when.
- Trash Cleaner: Allows you to schedule automatic trash cleanups with customizable settings.
These plugins are especially useful for site administrators who don’t want to tinker with code but still want better control over their content management system.
Best Practices for Trash and Content Deletion
To avoid losing valuable content or creating unnecessary clutter, follow these best practices:
- Preview before deleting: Always preview posts and pages to make sure you’re deleting the correct content.
- Back up your site: Before doing large deletions, back up your database to avoid permanent data loss.
- Use categories and tags correctly: Proper organization can often eliminate the need for mass deletions later.
- Instruct your team: If you run a multi-author blog, train contributors on reliable deletion practices.
Deleting isn’t inherently bad. In fact, when done strategically, it ensures that your WordPress site remains lean, fast, and easy to navigate.
Troubleshooting: Can’t Empty Trash?
Sometimes you may encounter a situation where items refuse to be permanently deleted. If that’s the case, try these troubleshooting steps:
- Check Permissions: Make sure you’re an Administrator. Only users with the right permissions can empty trash.
- Clear Caches: Both server and browser caches can sometimes show outdated content. Clear both and reload.
- Deactivate Plugins: Sometimes plugins interfere with trash operations. Deactivate them temporarily to test functionality.
- Look for database issues: If errors persist, there might be corrupt entries in your database. Use plugins like WP-DBManager to repair.
Conclusion
WordPress makes it easy to manage content safely and efficiently — and the trash feature is an integral part of that system. Though WordPress will automatically clear out trash by default after 30 days, taking control of this process ensures a smoother, cleaner, and more efficient operation of your website.
Whether you do it manually, schedule it using a plugin, or automate it via some smart configuration, keeping your trash empty is a small habit that brings big benefits. So next time you hit “Move to Trash,” remember — it’s not truly gone until you say so!
Take a few minutes each week to review your site’s trash, and enjoy a WordPress dashboard that’s faster, safer, and easier to manage.