Removing the HDD bay from an iBuyPower PC can be a practical upgrade step for users looking to improve airflow, install larger graphics cards, or transition to solid-state storage. While the process varies slightly depending on the specific case model, the core steps remain similar across most mid-tower and full-tower builds. With the right tools, a careful approach, and attention to cable management, the HDD cage can typically be removed in under an hour.
TLDR: To remove the HDD bay from an iBuyPower PC, first power down and unplug the system, then open the side panels to access the interior. Disconnect all hard drive cables and unscrew or unclip the HDD cage from the chassis. Some models use rivets that require drilling. Always handle components carefully and keep screws organized for reassembly.
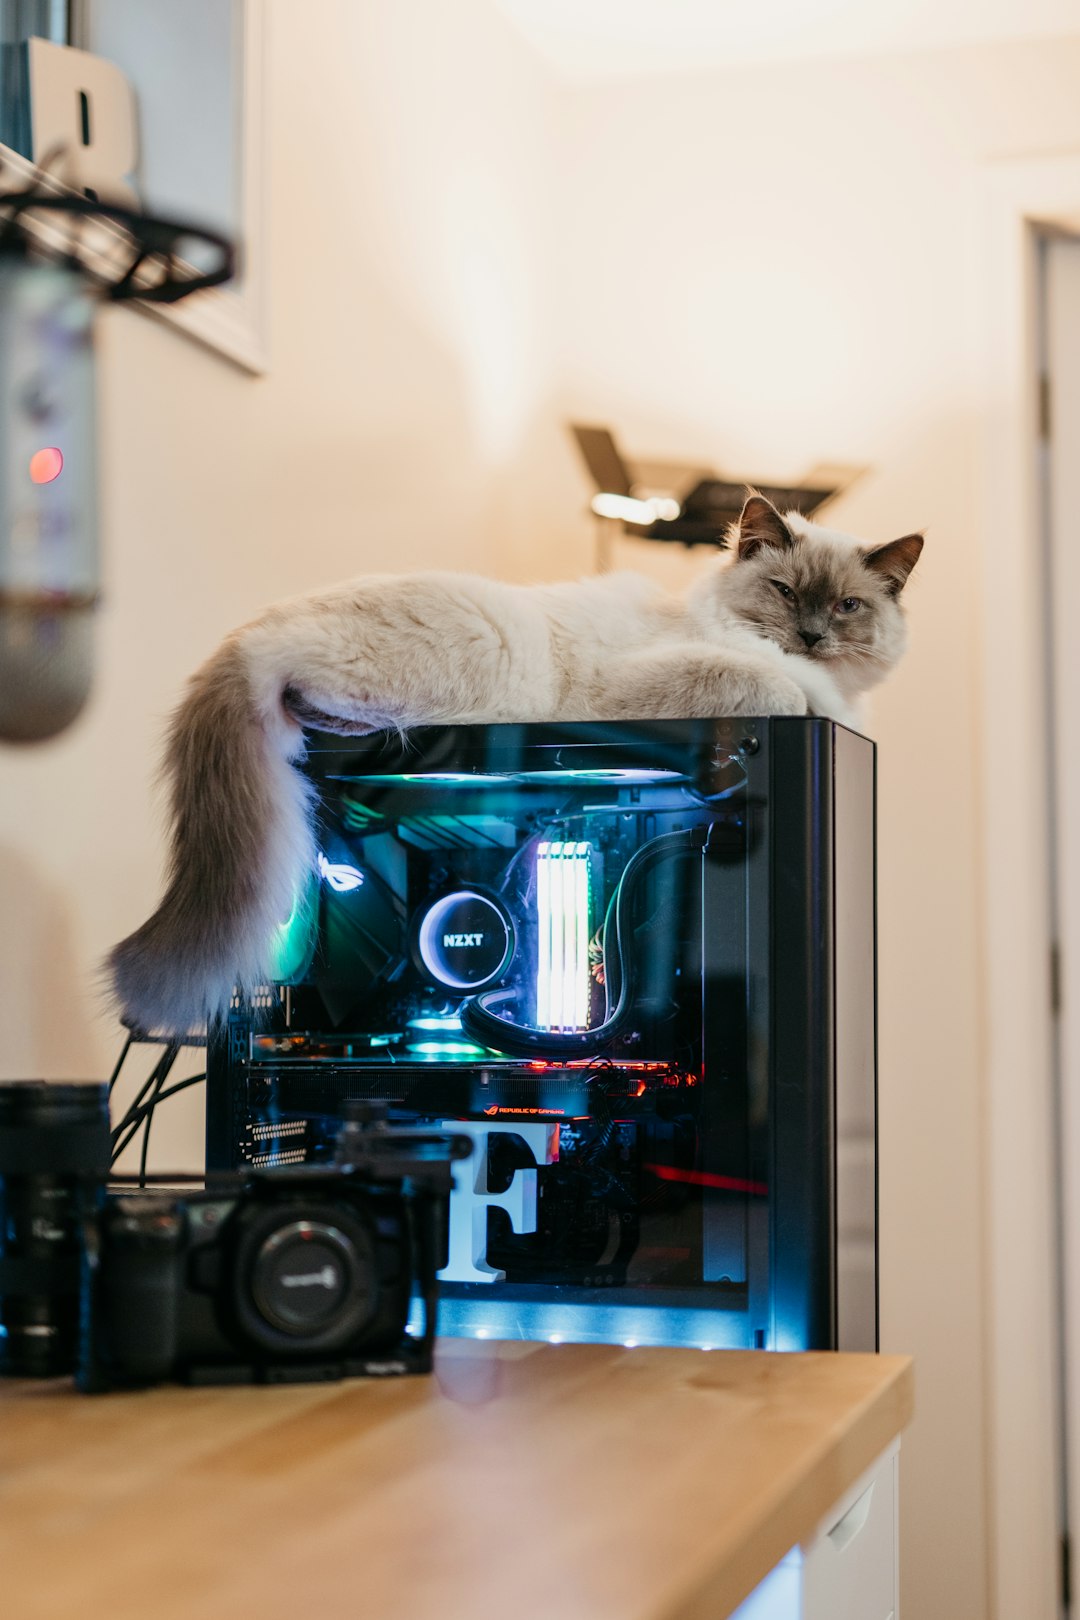
iBuyPower systems are popular for their performance and customization options. Many of their gaming PCs are built using standardized ATX or micro-ATX cases, which often include removable or modular hard drive cages. Users commonly remove the HDD bay to create space for larger GPUs, improve internal airflow, or simplify cable management after switching to M.2 or SSD storage.
Why Remove the HDD Bay?
Before starting, it helps to understand why this modification might be necessary. Common reasons include:
- Improving airflow: Removing bulky drive cages allows more direct airflow from front intake fans.
- Installing larger GPUs: Modern graphics cards can exceed 300mm in length.
- Reducing vibration: Eliminating mechanical drive mounts can quiet down the system.
- Upgrading storage: Transitioning fully to SSD or NVMe drives makes older bays unnecessary.
Regardless of the motivation, careful planning ensures components remain safe during removal.
Tools and Preparation
Preparation minimizes risk. Before opening the PC, gather the following:
- Phillips head screwdriver
- Small container for screws
- Anti-static wrist strap (recommended)
- Flashlight for interior visibility
- Power drill (only if rivets are present)
Important: Always shut down the PC completely and switch off the power supply. Unplug the power cord and press the power button for a few seconds afterward to discharge residual electricity.
Step 1: Open the Case
Lay the PC on its side on a clean, flat surface. Most iBuyPower cases feature tempered glass on one side and a steel panel on the other.
- Remove the thumbscrews securing the side panel.
- Carefully slide or swing open the panel.
- If needed, remove the opposite side panel for better cable access.
The HDD bay is typically located toward the front bottom section of the case, near the power supply shroud.
Step 2: Disconnect and Remove All Drives
Before removing the cage itself, all drives must be disconnected and extracted.
- Unplug SATA data cables from the motherboard.
- Disconnect SATA power cables from the power supply.
- Remove screws or release tool-less clips securing the drives.
- Slide each drive out carefully.
Place the drives on an anti-static surface. This prevents accidental damage while working inside the case.
Step 3: Inspect How the HDD Bay Is Mounted
Not all iBuyPower cases use the same mounting method. The HDD bay may be:
- Screw-mounted – Attached with visible screws along the base or side.
- Tool-less clip system – Secured with brackets or locking tabs.
- Riveted – Permanently affixed with metal rivets.
Examine the base and sides of the cage closely using a flashlight.
If screws are visible at the bottom of the chassis (often accessible from underneath the case), removal is straightforward. If rivets are present, the process becomes more advanced.
Step 4: Unscrew or Unclip the HDD Cage
For Screw-Mounted Cages
- Remove all visible screws securing the cage.
- Support the cage with one hand while removing the final screws.
- Slide the cage toward the back or lift it upward, depending on the design.
For Tool-Less Cages
- Press or pull release tabs.
- Slide the unit out along its mounting rails.
- Check for secondary locking mechanisms.
Keep all screws in a labeled container. Future reinstallation may require them.
Step 5: Removing Riveted HDD Bays (Advanced)
In some older or budget-oriented iBuyPower systems, the HDD cage is riveted to the chassis. This means it was not designed for easy removal. Proceed only if comfortable performing minor case modifications.
Steps for riveted removal:
- Cover nearby components to protect against metal shavings.
- Use a drill with a small metal bit.
- Drill directly into the center of each rivet head until it detaches.
- Push the remaining rivet body through the hole.
Safety note: Metal fragments can cause short circuits. After drilling, thoroughly vacuum and inspect the interior before powering the system.
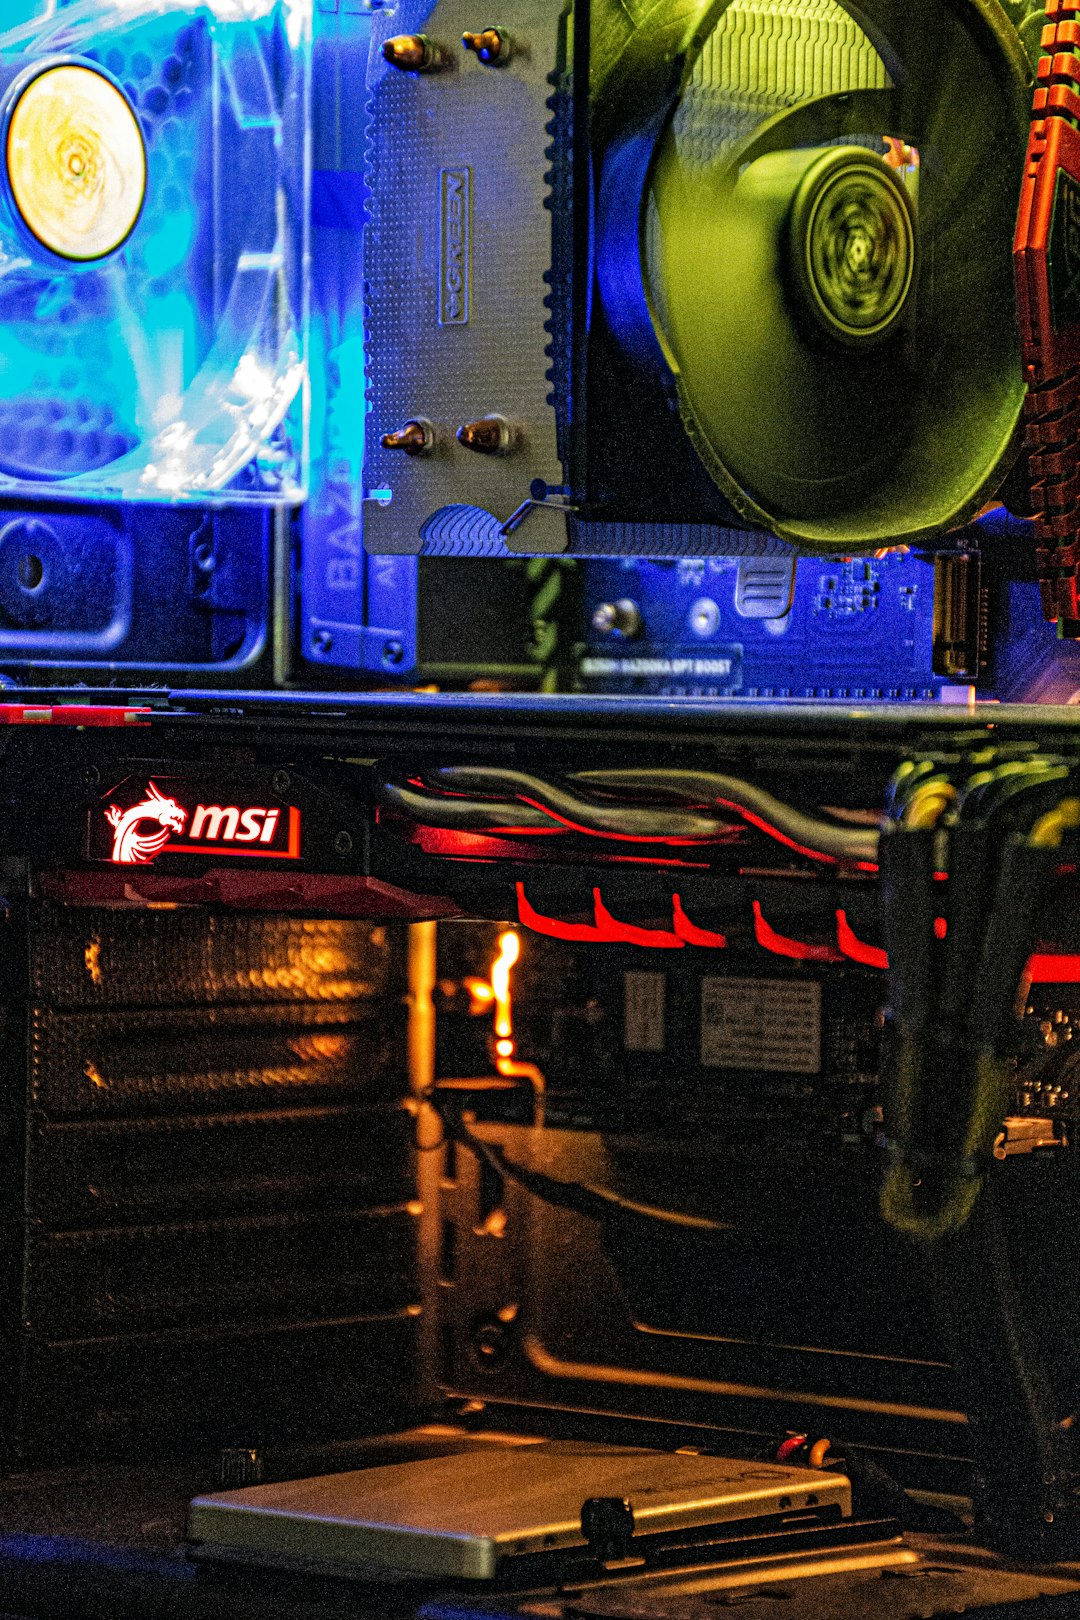
Step 6: Clean and Optimize the Interior
Once the HDD cage is removed, the interior space will open considerably. This is an ideal opportunity to:
- Reroute cables behind the motherboard tray.
- Install additional case fans.
- Upgrade to a longer GPU if desired.
- Remove dust buildup with compressed air.
Improved airflow often results in lower GPU and CPU temperatures, especially in high-performance gaming systems.
Reassembly and Final Checks
After completing modifications:
- Double-check that no loose screws remain inside.
- Ensure cables are not obstructing fans.
- Reconnect the power cord.
- Power on the system and verify normal boot operation.
If drives were relocated or replaced with SSDs, confirm that the BIOS detects all storage devices correctly.
Considerations Before Permanent Removal
While removing the HDD bay offers benefits, there are trade-offs:
- You may reduce available 3.5-inch storage capacity.
- Resale value could decrease if the modification appears permanent.
- Structural rigidity may change slightly in some cases.
Users who anticipate adding traditional hard drives later should consider relocating the cage instead of permanently removing it.
When to Seek Professional Help
If the case uses rivets and the system contains expensive components, less experienced users may prefer professional assistance. Computer repair shops can typically remove fixed cages safely and quickly.
Tip: Always review the specific case model documentation if available. iBuyPower often bases builds on third-party cases from manufacturers like NZXT, Thermaltake, or Corsair, and manuals may be downloadable from those brands.
Frequently Asked Questions (FAQ)
1. Will removing the HDD bay void my warranty?
It depends on the warranty terms for the specific iBuyPower system. Basic component upgrades typically do not void warranties, but permanent case modifications like drilling rivets might. Always check warranty documentation first.
2. Can I reinstall the HDD cage later?
If the cage was screw-mounted, yes. Simply keep the screws and reverse the removal steps. If rivets were drilled out, reinstallation would require new rivets or small machine screws and nuts.
3. Do I need to remove the motherboard to take out the HDD cage?
In most modern cases, no. The HDD bay is typically located at the bottom front of the case and does not interfere with the motherboard. However, extremely compact builds may require partial disassembly.
4. What should I do with the extra space after removal?
Many users install additional intake fans, improve cable management, or upgrade to larger GPUs. Some even mount SSDs behind the motherboard tray instead.
5. Is it safe to run a PC without an HDD cage?
Yes. The cage is not required for structural integrity in most mid-tower cases, provided other components remain securely mounted.
6. How do I know if my HDD cage is removable?
Look for visible screws or sliding rails. If the metal connection points appear smooth and rounded like small domes, they are likely rivets.
7. Can removing the HDD bay improve cooling?
Yes. With fewer obstructions, front intake fans can push air more directly toward the GPU and CPU, often lowering internal temperatures.
By following these steps carefully and taking appropriate precautions, users can safely remove the HDD bay from most iBuyPower PCs. The result is a cleaner interior layout, improved airflow, and additional space for modern hardware upgrades.