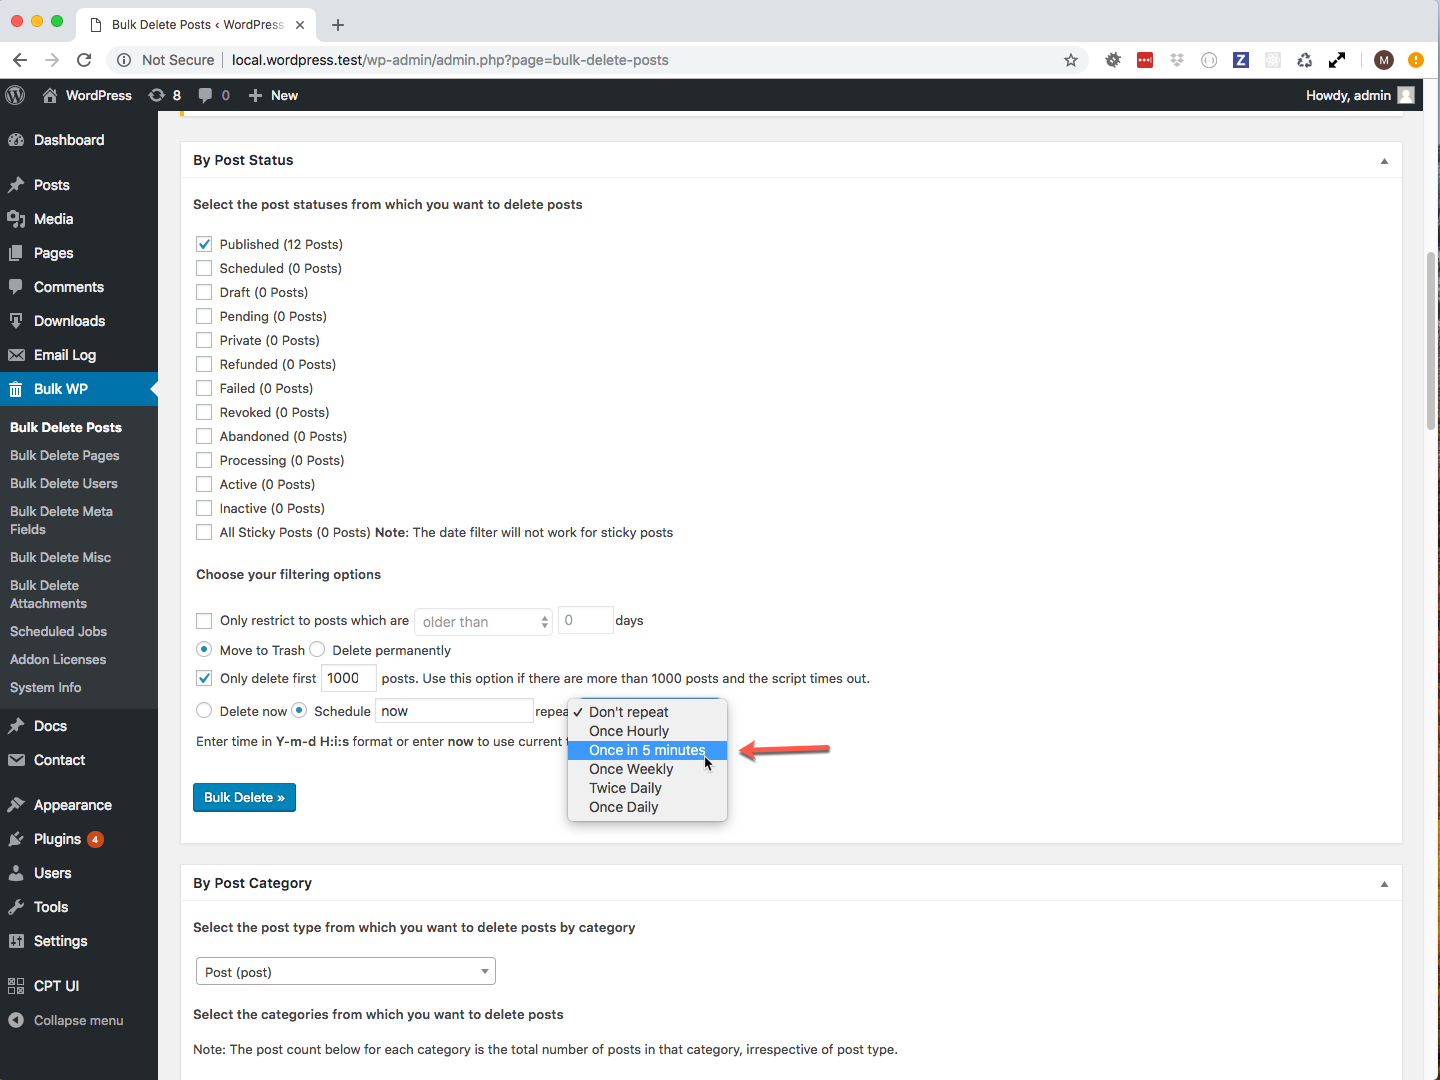
All the scheduler add-ons support repeating an action based on a schedule. By default the add-ons will list the schedules that are available in the WordPress installation in the dropdown.
If you want a new schedule that is not listed in the dropdown, then it can be easily added to your WordPress installation using the free WP Crontrol plugin.

To add a new cron schedule, follow these steps.
- Install the WP Crontrol plugin from WordPress plugin repo.
- Go to
Settings⟶Cron Schedules - You can see the list of available Cron Schedules and option to add new ones.
- Enter the internal name (unique and preferably lowercase without space between words)
- Enter the interval in seconds. In our case we shall add a new Cron schedule with an interval of 5 minutes (i.e. 5 * 60 seconds = 300 seconds)
- Enter the Display name. This can be descriptive.
- Finally save the schedule by clicking the “Add Cron Schedule” button.
Once you’ve added the desired Cron schedule, you can again schedule the deletion based on the new schedule.
This post will assist the internet visitors for creating new web site or even a blog from start to end.